
The making process
Your First 3-Yard Quilt: From Fabric to Finished Top.
Three fabrics can become something wonderfully personal. The secret isn’t rushing the sewing—it’s understanding the next step. Here’s the overall journey, with your purchased pattern as the guide for every measurement and layout.
1. Read the whole pattern first
Find the finished size, fabric requirements, cutting instructions, seam allowance, and finishing notes. Check the pattern publisher for corrections before cutting.
This overview is a companion, not a substitute for your quilt pattern. Use the included instructions for exact cutting sizes, block construction, borders, and binding.
2. Identify and prepare your fabrics
Match each of your three fabrics to the fabric positions in the pattern. Label them so you can distinguish them quickly at the cutting table.
Check the pattern and fabric-care guidance before prewashing. Washing can shrink fabric or fray edges, reducing usable yardage. With a kit containing measured yardage, don’t assume there is extra fabric to spare. Press out creases before measuring.
3. Cut carefully, in the pattern’s order
Read each cutting instruction twice and keep track of pieces as you go. Use a quilting ruler and cutting mat on a stable surface; keep your fingers away from the blade’s path, and close the cutter after each cut.
Do not cut all the yardage into strips based on this general guide. Your specific pattern determines how each fabric is used.
4. Make one unit before making many
Sew a test unit with the pattern’s seam allowance, press as directed, and measure it against the instructions. A small difference repeated across many seams can change the finished size.
Once the first unit is right, continue in manageable batches. Arrange the pieces before joining them, keeping the pattern beside you to check orientation.
5. Assemble and check your quilt top
Join the units and rows in the order shown. Check that the layout looks right before sewing each row. Add any borders following the pattern’s measurements and method—not a guess based on how the edge looks.
Give the completed top a careful press and check seams for gaps. You now have a quilt top, not yet a finished quilt.
6. Plan backing, batting, quilting, and binding
Measure your completed top and choose backing and batting with the extra allowance required by your quilting method. A longarm quilter may need more extra fabric than you would for quilting at home; ask them before cutting or buying backing.
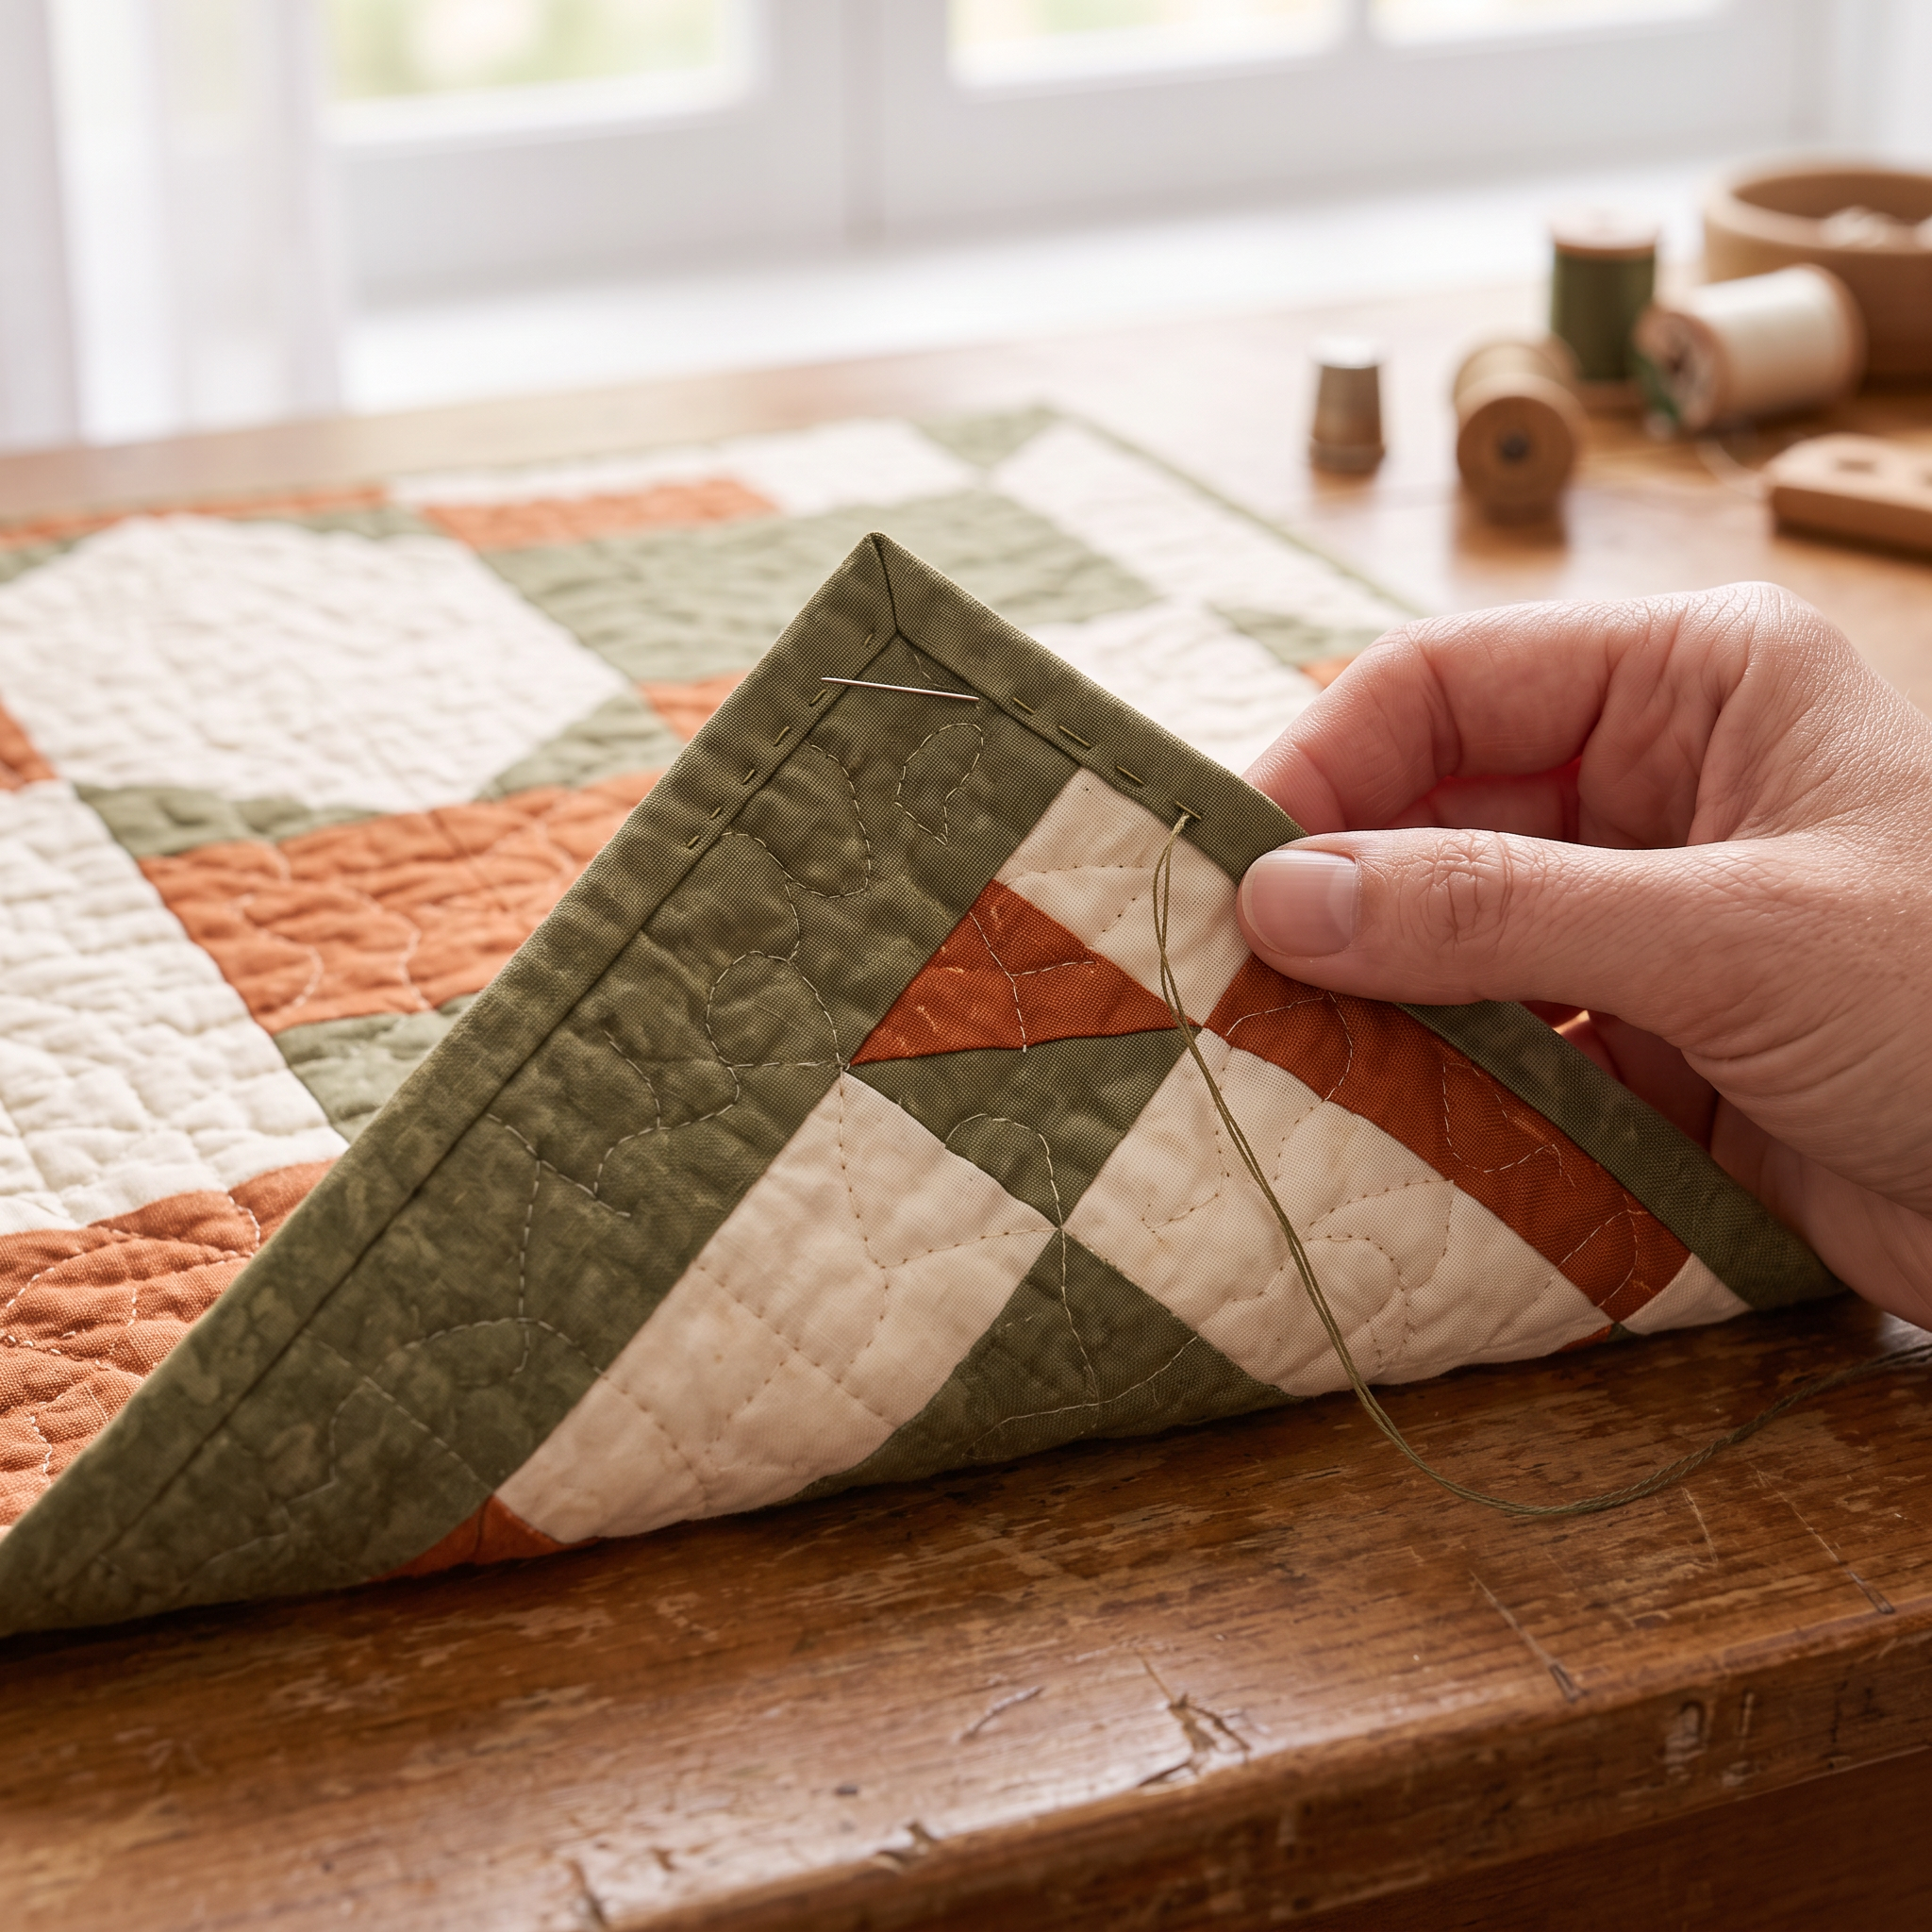
Check the pattern’s binding method and fabric allowance. Three-yard patterns can use particular finishing methods, so a wider or different binding may require additional fabric. Follow the batting manufacturer’s quilting-distance instructions, then bind and care for the quilt according to the materials used.
Let the pattern handle the measurements. Let yourself enjoy watching three fabrics become a quilt.
Ready for a project of your own?
Explore High Desert Quilt Kit, with coordinated fabric for the quilt top and a pattern to guide your making. Check its finished size and included items before choosing.
Explore High Desert Quilt Kit